Preparation#
Steps to complete before assembly.
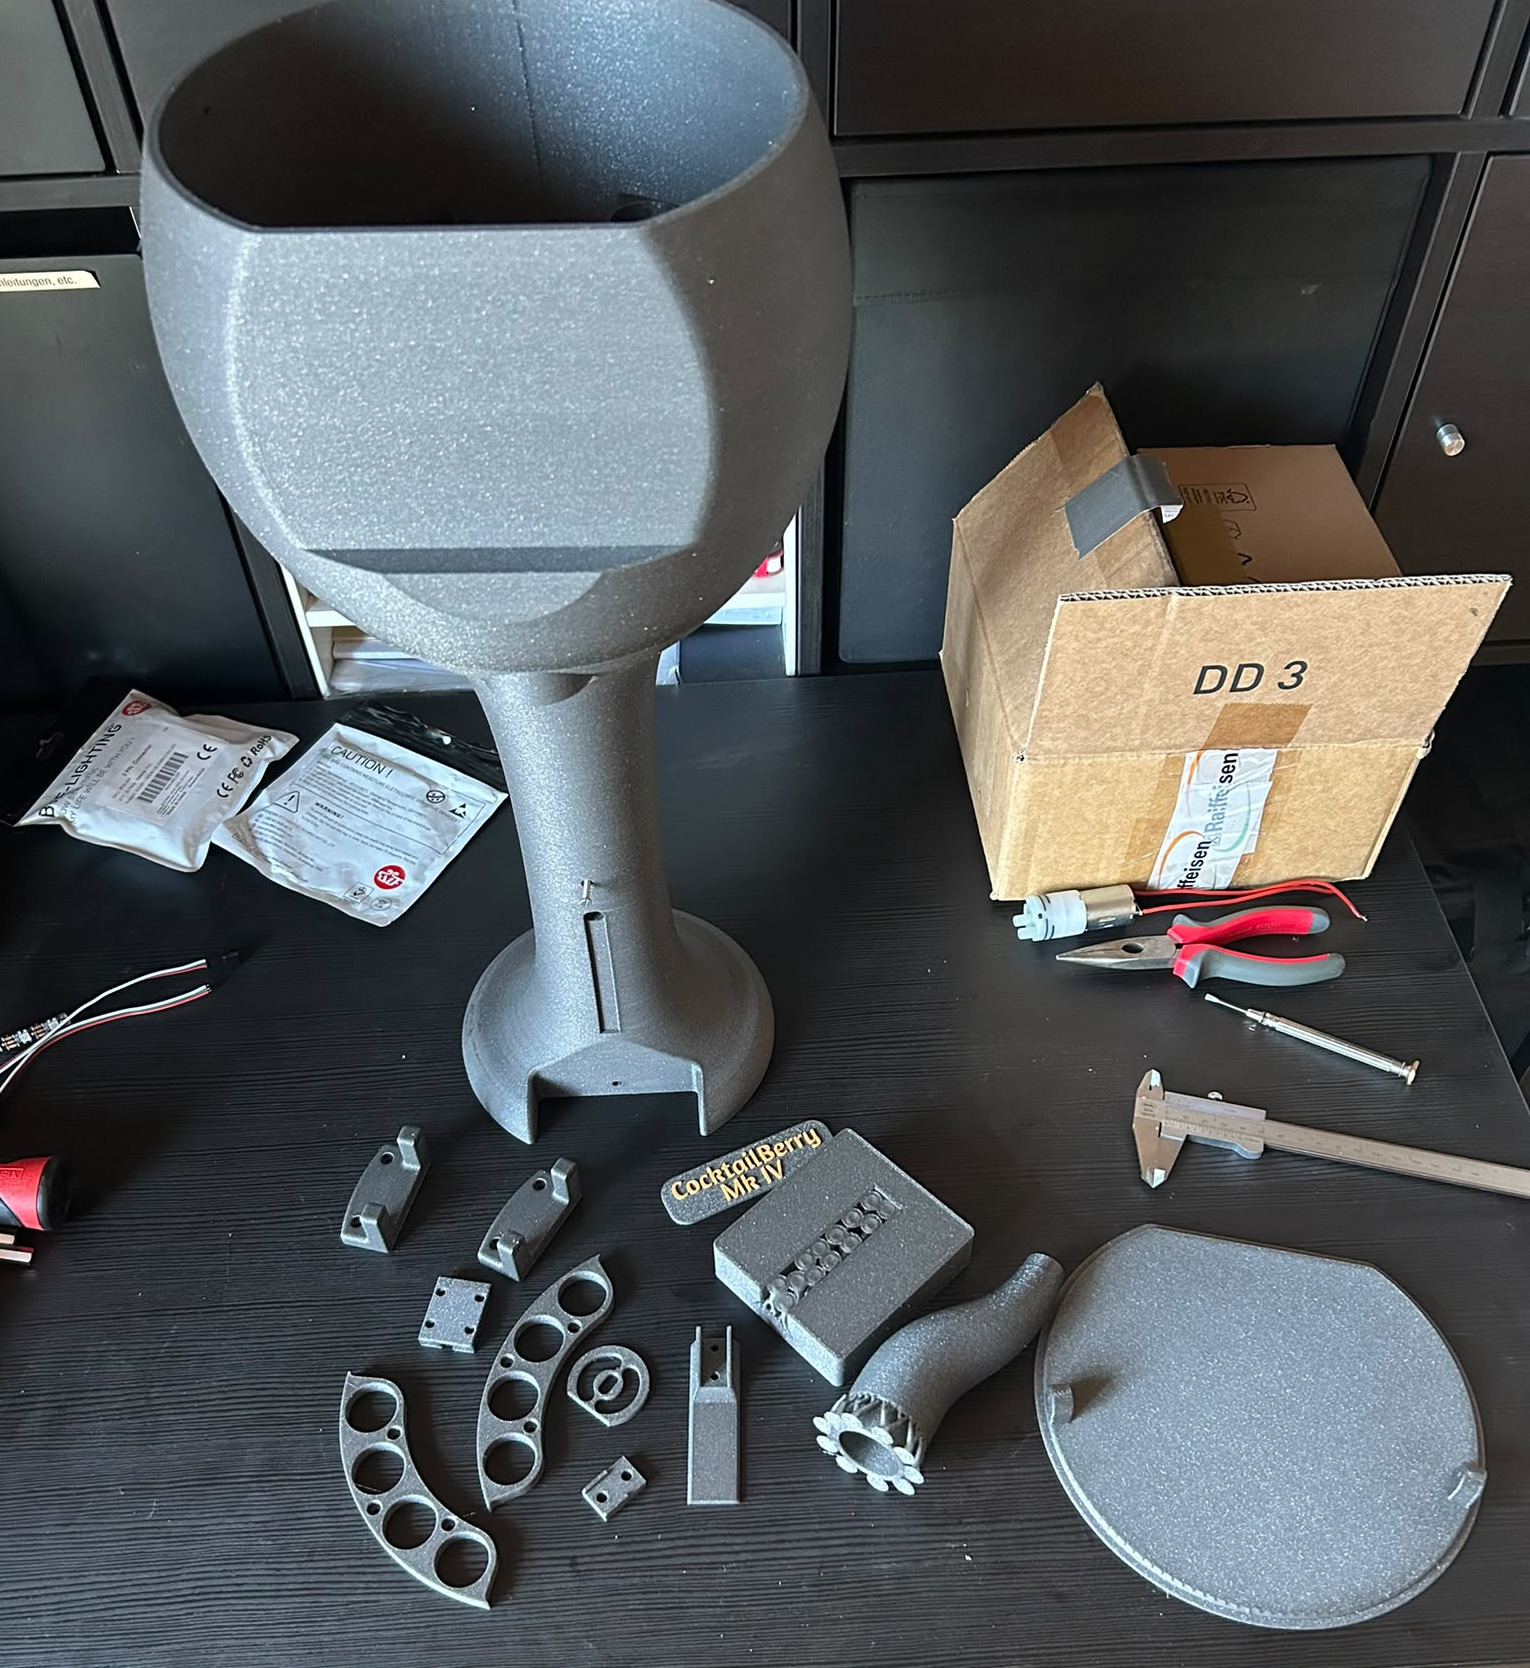
Printing the Parts#
These settings might differ a little bit, depending on your printer. The parts are designed to be printed without supports, but some printers might require them for certain parts.
- Recommended material: PLA, PETG, or ABS (funnel should be food-safe)
- Layer height: 0.2 mm
- Infill: 10-20 %
- Supports: where needed
Post-Processing#
Remove supports and clean up the parts as needed. Prepare boards, electronics, and fasteners for assembly. Pre-solder connections where possible to save time during assembly.
Pre-Assembly Checks#
- All parts printed and cleaned
- Electronics tested
- Fasteners and tools ready
- Measure converter output voltage to ensure it's set to 5 V before connecting to the Pi
Step A - Heat-Set Inserts#
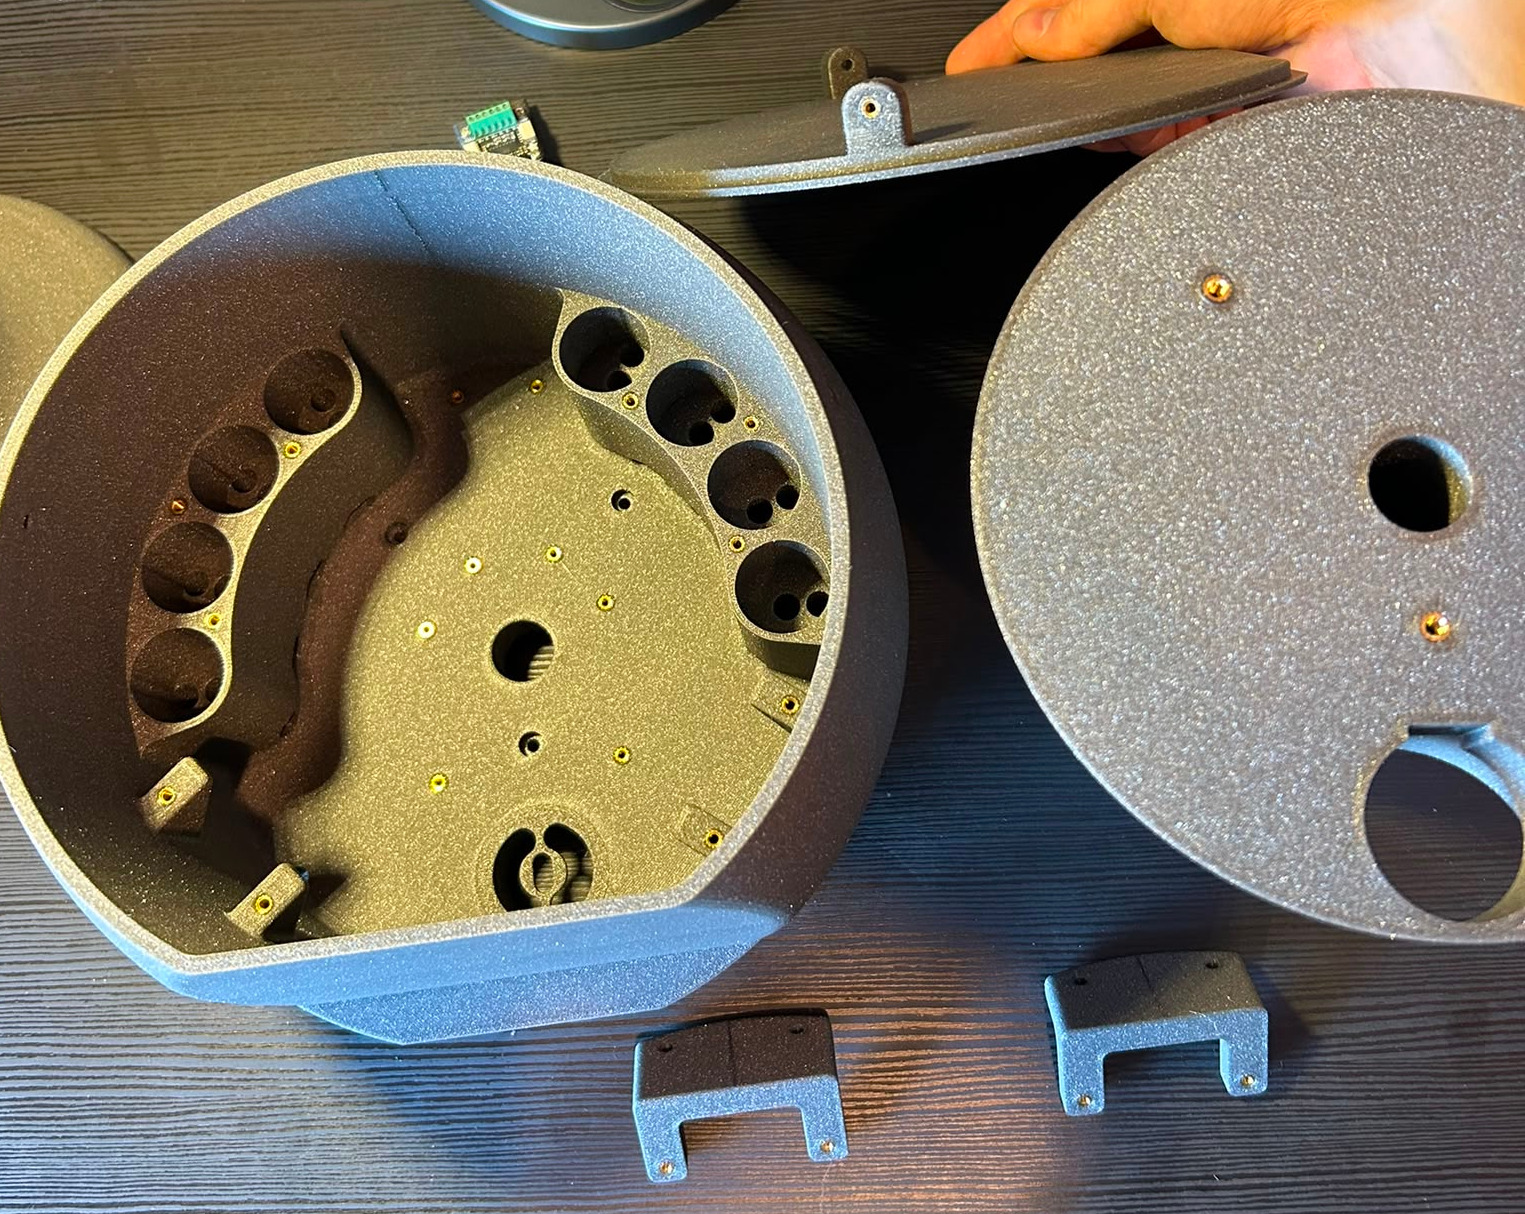
First, heat-set the threaded inserts (using a soldering iron) into the printed parts that require them. Here is an overview of which insert goes where:
- Lid Tower: two M3 on the pads
- Tower Bottom: two M3 on the top connecting point, two M5 on the bottom
- Tower Middle: three M4 on the top connecting point
- Tower Top: eight M2.5 on the electric mounting points, three M3 each side on the pump sockets, two M3 each side on the peristaltic holders (front)
- Peristaltic holder: two M2.5 on the mounting points in the U-shape for each part
- Optional Scale: four M2.5 into the scale electrics socket
Step B - Insert Magnets#
Put the magnets into the slots of the funnel and the bundler, so they can hold together.